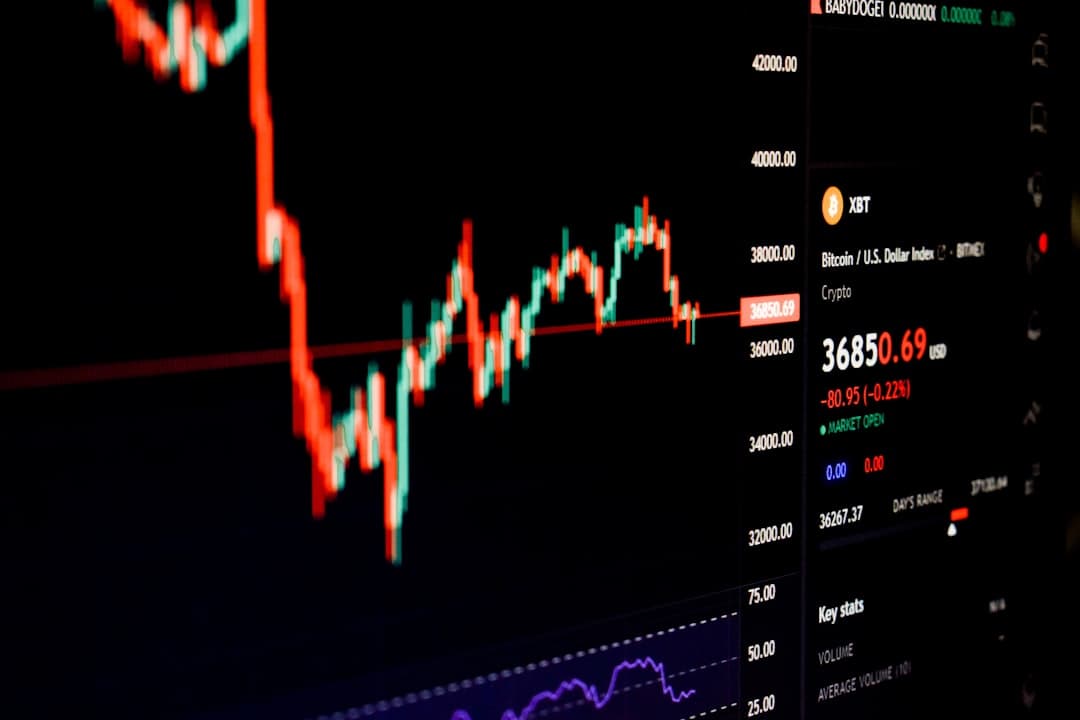
Forex Trading Strategy Using a Currency Strength Meter

Master Forex Trading with a Currency Strength Meter: A Systematic Momentum Strategy
Most retail forex traders make the critical mistake of viewing currency pairs in complete isolation. They spend hours analyzing a single chart like EUR/USD or GBP/JPY, trying to predict its next direction without understanding the broader macro momentum driving the underlying currencies.
A Currency Strength Meter (CSM) fundamentally shifts this approach. Instead of guessing individual chart patterns, a CSM aggregates real-time price action across all 28 major currency pairs. It calculates the absolute, relative strength of the eight major currencies—USD, EUR, GBP, JPY, CAD, CHF, AUD, and NZD.
By transforming complex cross-pair data into an intuitive visual score (typically on a 0 to 10 scale), a strength meter lets you execute a battle-tested rule: Buy the strongest currency and sell the weakest.
Why Relative Strength Gives You an Edge
Trading forex without checking relative currency strength is like driving with a blind spot. A currency pair consists of two competing economies. When you buy a pair like AUD/JPY, you need two conditions to align for a clean trend:
- The Base Currency (AUD) must be experiencing upward momentum.
- The Quote Currency (JPY) must be weak or stagnating.
When strong momentum collides with heavy weakness, price action breaks out with clean, directional thrust. Conversely, if both currencies in a pair have equal strength (e.g., both scoring 7.5 on the meter), the pair will grind sideways in a frustrating range. A currency strength meter acts as a filter, steering you away from low-volatility consolidation and toward high-probability trends.
The 4-Step Rule-Based Trading Framework
To build a sustainable trading strategy around a Currency Strength Meter, you must combine its relative scores with strict price action confirmation. Follow this repeatable 4-step framework:
[ Step 1: Scan Meter ] ➔ [ Step 2: Higher Timeframe Chart ] ➔ [ Step 3: Trigger Entry ] ➔ [ Step 4: Manage Risk ]
Step 1: Isolate the Market Outliers
Begin your trading session by reviewing your Currency Strength Meter. Look for asymmetric readings where strength is heavily divergent:
- Strongest Currency: Scores between 7.5 and 10.0.
- Weakest Currency: Scores between 0.0 and 2.5.
Action: Match the top-ranked currency against the bottom-ranked currency. If USD reads 8.8 and CAD reads 1.5, your primary focus for the session is USD/CAD (Long).
Step 2: Validate Higher Timeframe Alignment
Never enter a trade based solely on a meter reading. A strength meter provides a snapshot of current velocity, but charts reveal structural support and resistance.
- Switch to the 4-Hour (H4) or Daily (D1) chart for your target pair.
- Trend Confirmation: Verify that the chart reflects the meter's story. Look for a series of higher highs and higher lows for long setups, or lower lows and lower highs for short setups.
- Key Level Check: Ensure price is not trading directly into a major weekly support or resistance zone where institutional profit-taking could occur.
Step 3: Wait for Lower Timeframe Pullbacks
Chasing a market at extreme highs leads to poor risk-reward ratios. Once the directional bias is established, scale down to the 15-Minute (M15) or 1-Hour (H1) chart to wait for value.
- Allow the price to retrace toward a dynamic support level, such as the 20-period or 50-period Exponential Moving Average (EMA).
- Wait for a price action entry trigger, such as a bullish engulfing bar, pin bar, or a breakout of a minor counter-trend trendline.
Step 4: Execute with Structural Risk Parameters
Protect your trading capital before calculating potential profits:
- Stop Loss (SL): Place your stop loss 5 to 10 pips beyond the most recent swing low (for longs) or swing high (for shorts) on your entry timeframe.
- Take Profit (TP): Target a minimum 1:2 Risk-to-Reward ratio or set your target at the next major structural liquidity pool.
Real-World Trade Setup: Walkthrough
To see how this strategy functions in practice, consider the following real-market setup:
| Parameter | Market State |
|---|---|
| Meter Observation | EUR: 8.6 (Very Strong) | JPY: 1.2 (Extremely Weak) |
| Pair Selection | EUR/JPY (Long) |
| H4 Chart Context | Price is making fresh 3-month highs, confirming strong bullish market structure. |
| H1 Entry Setup | Price pulls back 35 pips to retest the 20 EMA dynamic support level. |
| Execution Trigger | A strong bullish rejection candle forms directly off the 20 EMA. |
| Trade Parameters | Entry: 162.40 | Stop Loss: 162.05 (35 pips) | Take Profit: 163.10 (70 pips) |
| Outcome | Risk-to-Reward ratio is exactly 1:2, risking $350 to make $700 on a 1-lot position. |
Choosing Your Trading Style: 3 Tactical Variations
A currency strength strategy can be adapted to fit different trading styles and time horizons:
1. Intraday Momentum Mode
- Best For: Active day traders who monitor charts during major session overlaps.
- Primary Timeframes: M5 to M15.
- Methodology: Capture intraday momentum bursts when strength scores rapidly shift following economic data releases. Positions are closed before the trading day ends.
2. Swing Trading Mode
- Best For: Part-time traders balancing full-time jobs.
- Primary Timeframes: H1 to H4.
- Methodology: Focus on steady multi-day currency divergence. Hold positions for 1 to 4 days to capture major structural swings across market sessions.
3. Macro Trend-Following Mode
- Best For: Position traders seeking larger profit targets.
- Primary Timeframes: Daily (D1) and Weekly (W1).
- Methodology: Track central bank monetary policy shifts where a currency maintains an extreme score (7+ or 3-) for weeks at a time. Use wide trailing stops to ride multi-week market trends.
Critical Pitfalls to Avoid
Even with real-time data, misuse of a strength meter can lead to drawdowns. Avoid these common trading traps:
❌ Buying Extreme Tops ➔ Wait for lower timeframe pullbacks instead. ❌ Trading Neutral Meters ➔ If scores hover between 4.0 and 6.0, stand aside. ❌ Ignoring High-Impact News ➔ Red-folder events can flip strength in seconds.
- Chasing Overextended Extremes: When a currency reaches a maxed-out score of 10.0 or 0.0, the trend is often overextended. Entering at these levels leaves you vulnerable to sudden mean-reversion pullbacks. Wait for a retest before taking a position.
- Trading in Low-Volatility Ranges: If every currency on your meter is hovering between 4.0 and 6.0, the market lacks institutional direction. Do not force trades during flat sessions; wait for clear momentum divergence.
- Overlooking High-Impact News Releases: Major economic reports—such as U.S. Non-Farm Payrolls (NFP), Consumer Price Index (CPI), or central bank rate decisions—can cause immediate spikes in relative strength. Avoid opening new positions 15 minutes before or after tier-one news events.
- Ignoring Market Session Transitions: Relative strength dynamics shift throughout the day. A currency that dominates the Asian session may lose momentum as European and New York liquidity enters the market.
Capital Protection and Risk Management Rules
A Currency Strength Meter helps identify high-probability setups, but strict risk management keeps you profitable over the long term.
- The 1% Risk Rule: Never risk more than 1% to 2% of your total account balance on any single trade setup, regardless of how strong the meter reading appears.
- Correlation Exposure Control: Avoid opening multiple positions that rely on the same underlying currency momentum. For example, taking long positions on EUR/USD, GBP/USD, and AUD/USD simultaneously quadruples your exposure to US Dollar volatility.
- Daily Loss Limit Protocols: If you experience two consecutive losses during a single session, halt trading for the day. Sequential losses often indicate that market conditions are changing or that session dynamics are shifting against your current strategy.
Summary Checklist for Session Preparation
Before placing your next trade, run through this final operational checklist:
- Identify Asymmetry: Is there a clear gap between the strongest (7.5+) and weakest (2.5-) currencies on the meter?
- Verify Structure: Does the 4-Hour or Daily chart confirm a clean trend in the same direction?
- Wait for Pullback: Has price retraced to a dynamic support/resistance level on your entry timeframe?
- Confirm Trigger: Has a valid price action reversal signal formed off the support level?
- Check Economic Calendar: Are there any upcoming tier-one news events for either currency in the pair?
- Calculate Position Size: Is your total dollar risk capped at 1-2% of account equity?
By combining real-time currency strength metrics with structured price action entries and disciplined risk management, you can strip emotion out of your trading and execute setups grounded in statistical momentum.
Partner Offer
Open an Exness Account
Start trading with Exness through our partner link. Click the button below to open the account page with the best experience for your device.